
Making stuff is fun, but making stuff for toppy people that you have a crush on? Even MORE fun. The lovely Faerie Willow wanted a spinner for playing games on her OnlyFans (and with me 😍), and one mustn’t keep a Princess waiting.
The spinner is to be heart shaped, and made of steel. That means it’ll need to be cut with the plasma cutter, and that means I’ll need a template, so the first stop: woodshop.

I found a vector image of a heart and printed it out, then transferred it onto some scrappy 3mm plywood

I cut out the heart on my bandsaw
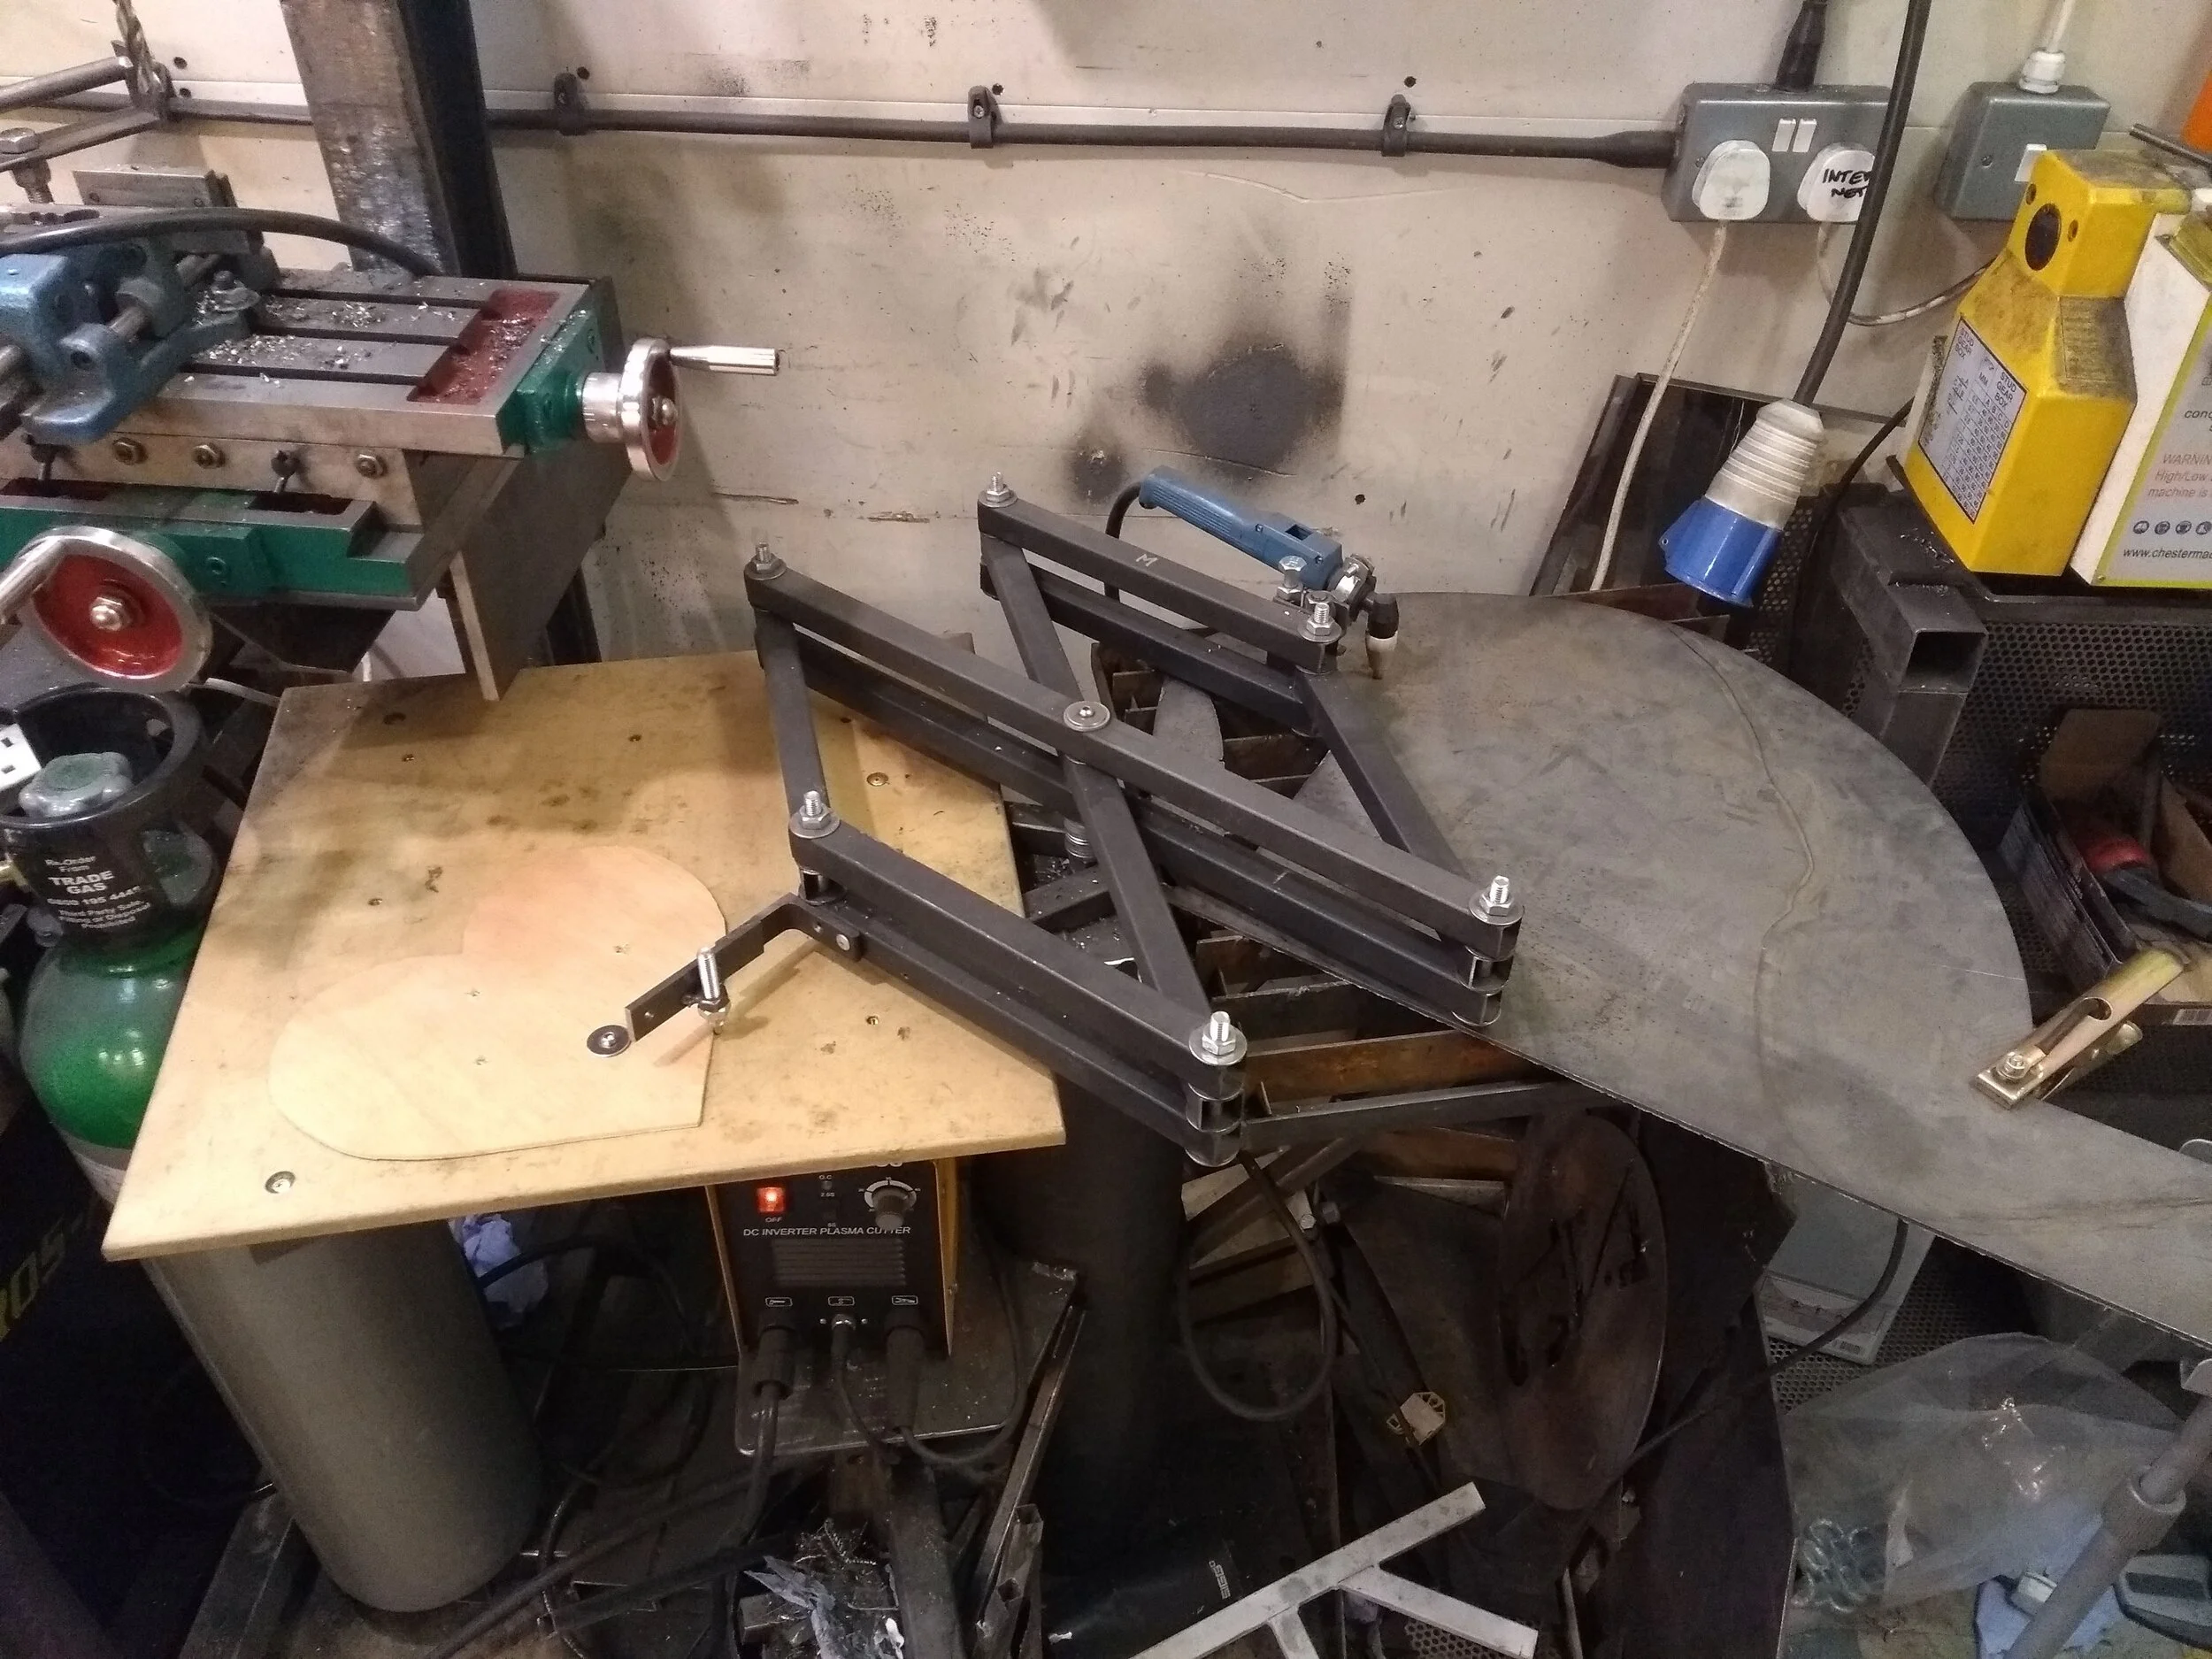
That done, it was time to use what is possibly my favourite machine: the plasma cutter pantograph tracing table. This machine, that I built last year, uses a pantograph to transfer the movements of a scribe perfectly to the plasma torch on the other side. This allows wooden patterns to be used without catching fire, and keeps me a little further from the plasma arc. You can see a video of it in action here.
Template on the left, steel sheet on the right.
There’s always a bit of fettling to do after plasma cutting- knocking off the slag and tidying up the edges and such. Then it turned out that for some reason the mill scale on this particular piece of steel was super hard, so I had to painstakingly grind it all off. Once that was done, I had this:

<3
The heart needs several holes drilling in it: A clearance hole for the central 12mm shaft on which the pointer will rest, two mounting holes for the bearing that holds the shaft, and then three holes to tap for an M6 thread to hold the machine screws that the whole thing will stand on. My new compound table in the drill press, coupled with a centre I made in the lathe, makes it so easy to accurately line up on punch marks. That’s something I always used to struggle with before.

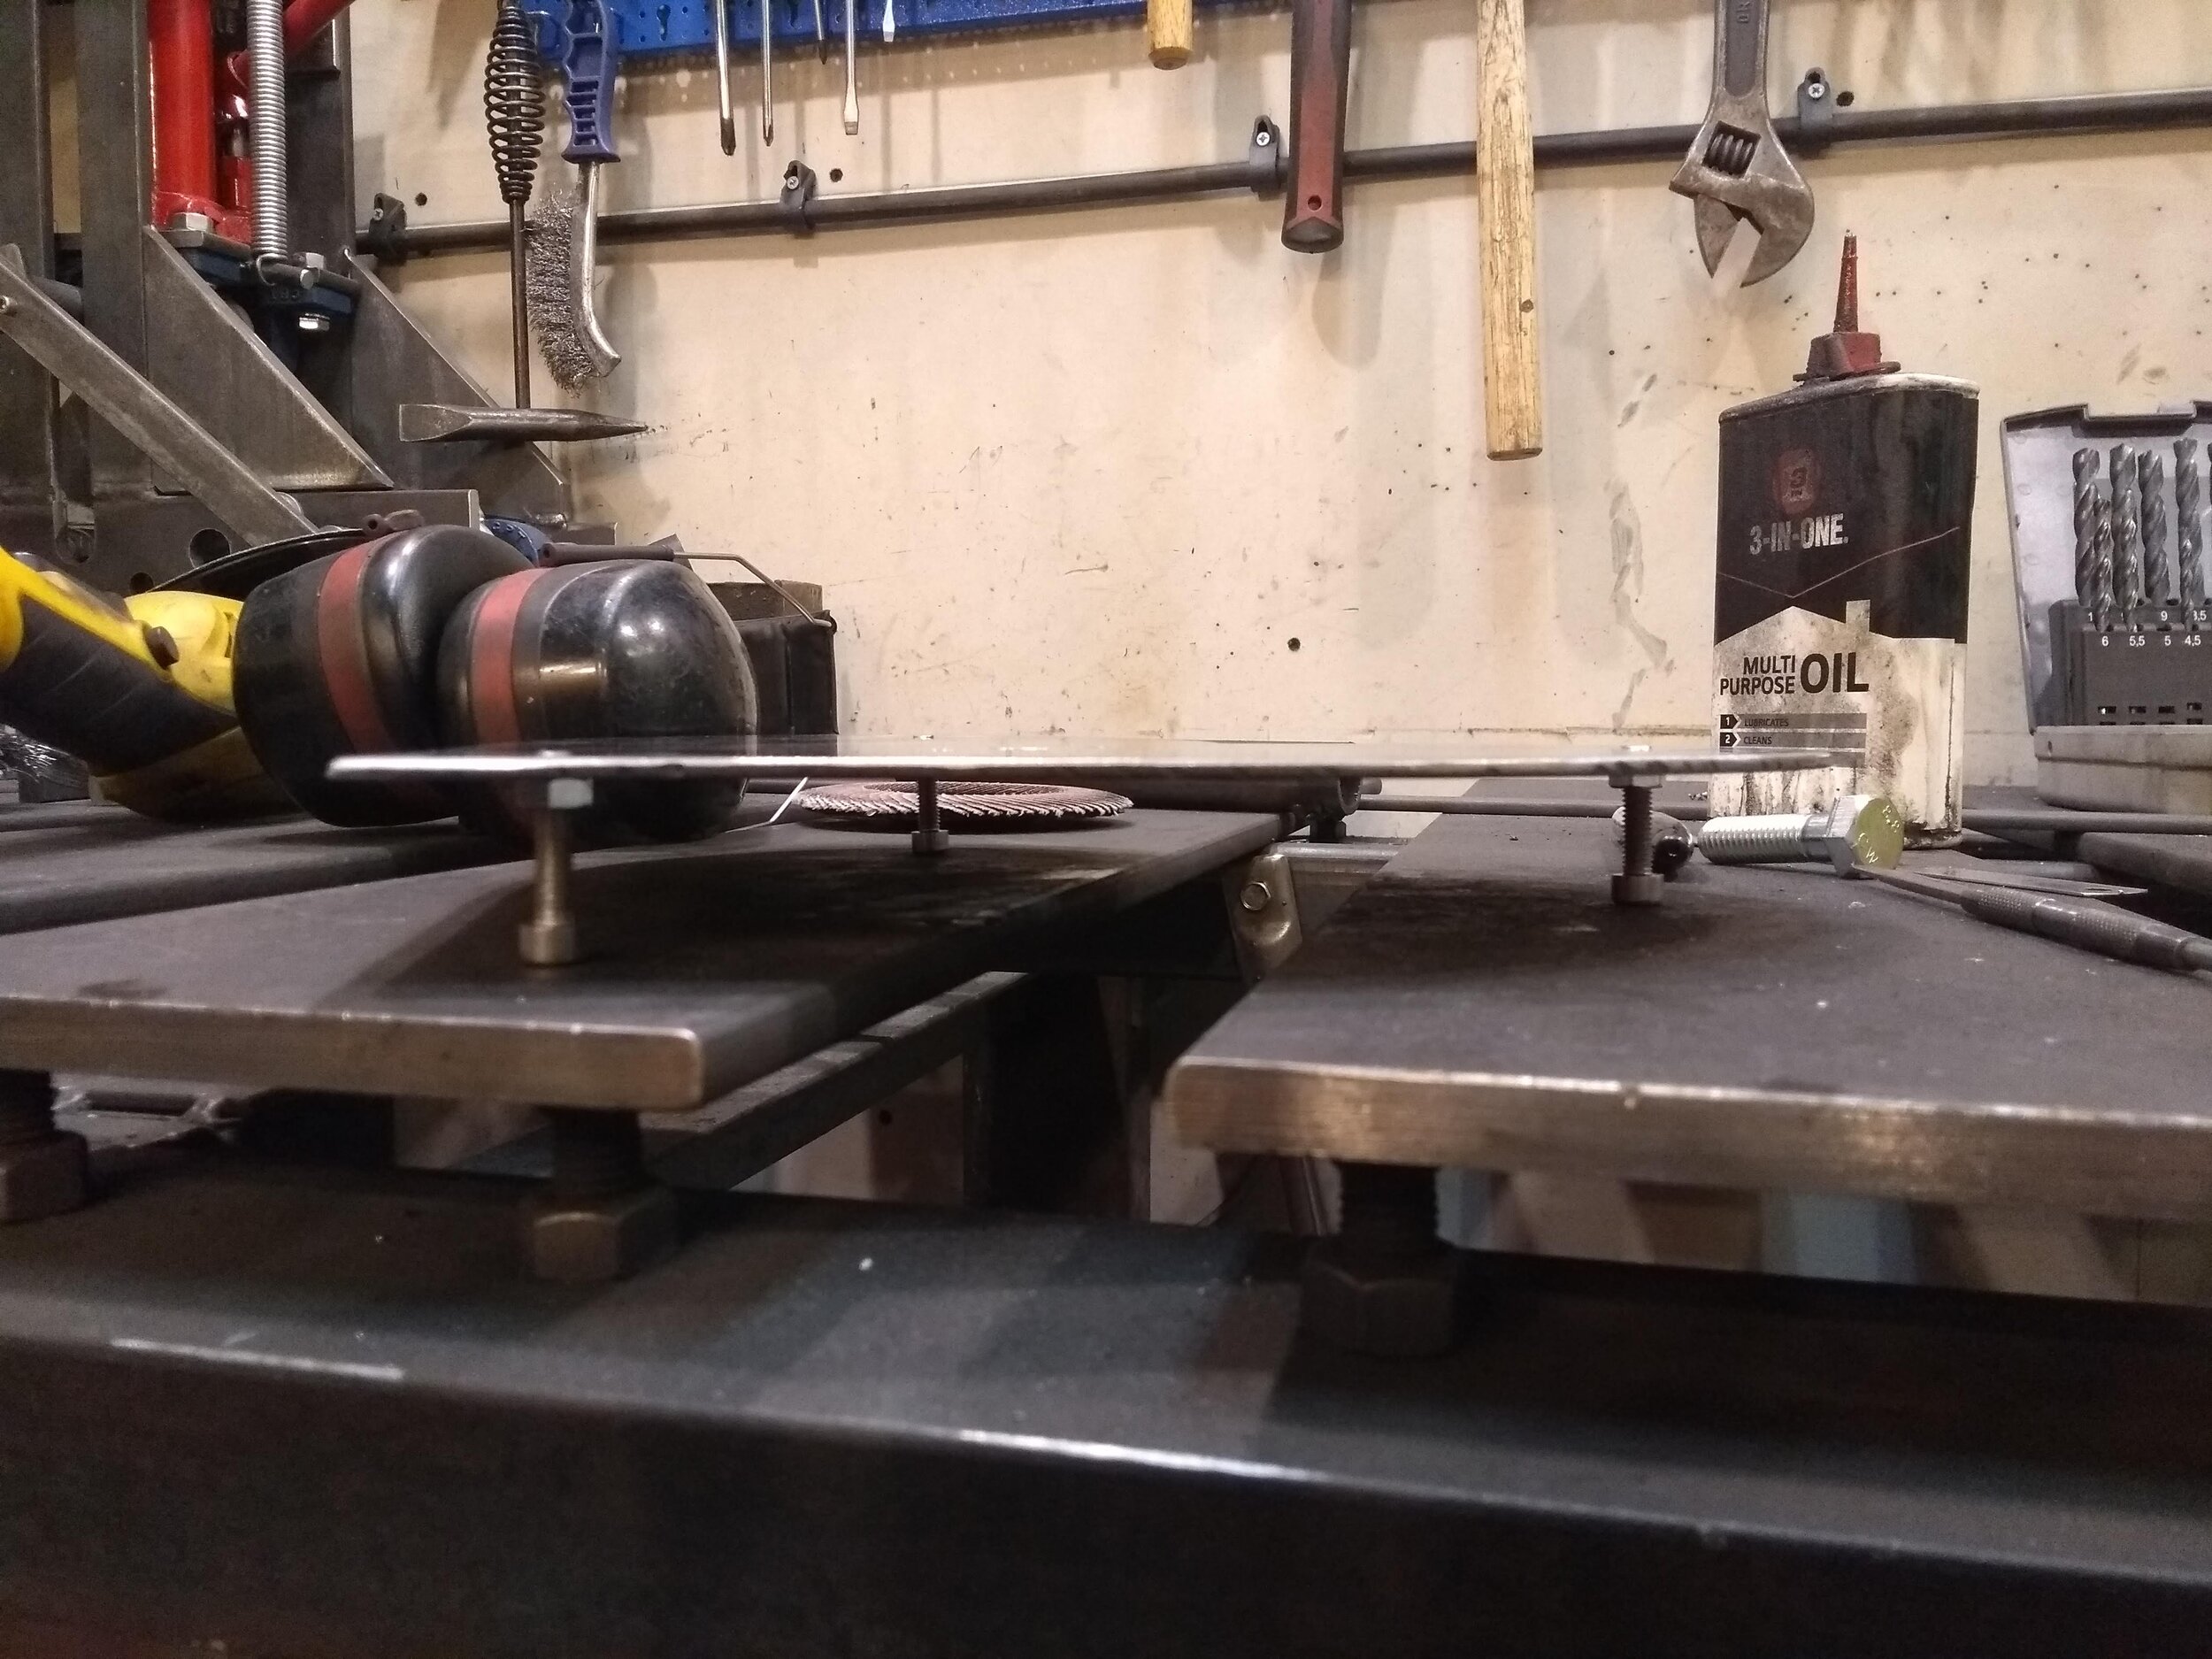
Also I thought the reflection was cool.
Then I tapped the three holes for the legs. With a locknut on each, these socket head capscrews make nice feet that won’t scratch surfaces.
I I I
With the body of the spinner done, it’s time to make the part that actually spins. I used a piece of brass flatbar for this. I cut it to length filed it, put a nice point on the end with the disc sander, and then drilled and tapped a hole in the centre of it, where it would mount to the shaft.

The pointer cut and polished, before being drilled and tapped.
Next, in order to make the shaft, it was over to the lathe, which is another of my favourite machines. It’s an absolute beast, made in Germany in 1938, and I think I’m only its third owner.
I faced the end of the shaft, and turned it down to 6mm so I could cut an M6 thread on it with a die.

Leinen D23LZ, for those interested

A 12mm shaft with an M6 thread, ready to randomise!
With that done, it was time for final assembly! A flange bearing was bolted in place using the holes drilled earlier, and the pointer was screwed onto the shaft, which was then fastened in the bearing. A quick clean and some clear lacquer, and it’s ready to decide some fates! A big thank you to Willow for allowing me to make this for her.
